Installation
You can follow these simple steps to start using Spur.
Requirements
- Laravel Project
- Tailwind
- Alpine (for some components)
composer require spur/spur
After installing you will need to publish configuration.
php artisan vendor:publish --tag=spur-config
This will publish config/spur.php file that looks like this.
<?php

return [
    'token' => env('SPUR_PROJECT_TOKEN', ''),
    'components' => [
      // components goes here..
    ],
    'icons' => [
      // icons goes here..
    ],
    'config' => [
      'colors' => ['red', 'green']
    ]
];
The components array will hold all the component name you are using in your project (ie: essentials/button )
Available Commands
| Command | Description |
php artisan spur:add {componentName}
| You can use this command to easily add components to your project, you add multiple add the same time by adding a space between component names. |
php artisan spur:fetch
|
If you would like to fetch all the components in the configuration file you have you can use this command
|
Spur Project
You can register on Spur an account in which you can create multiple projects
Create Project
Once you register you will land on the dashboard which looks like the image below.
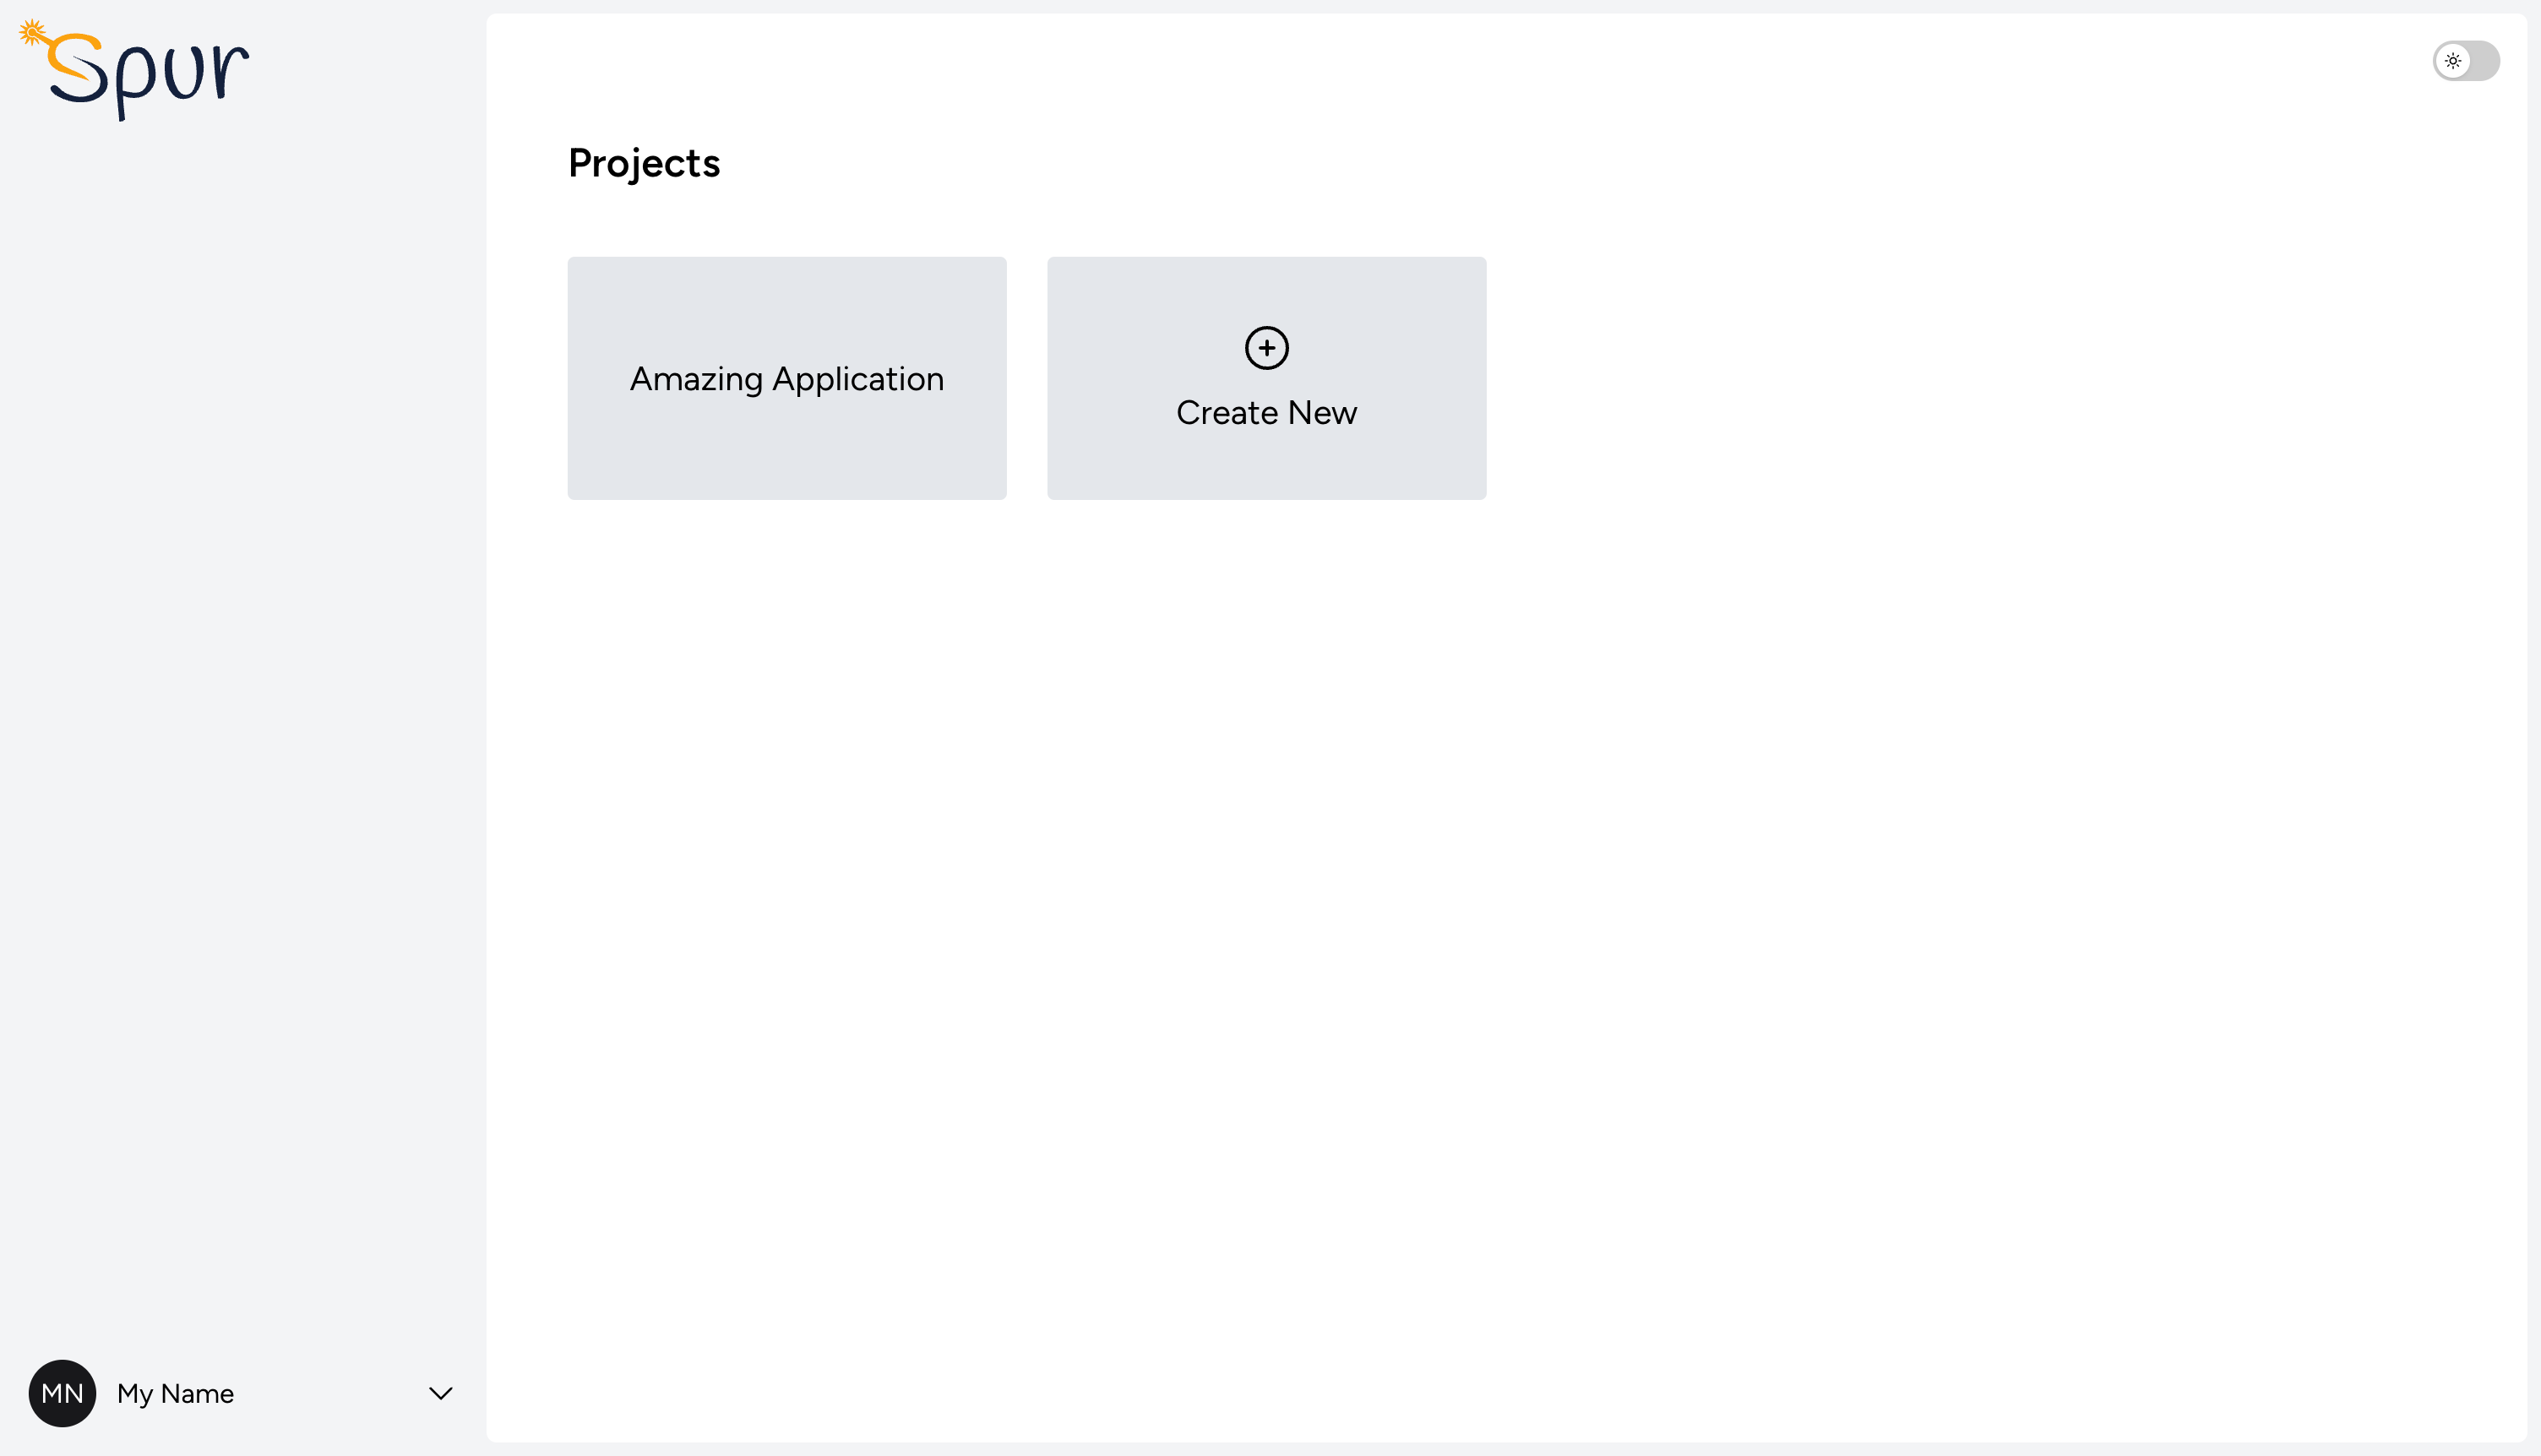
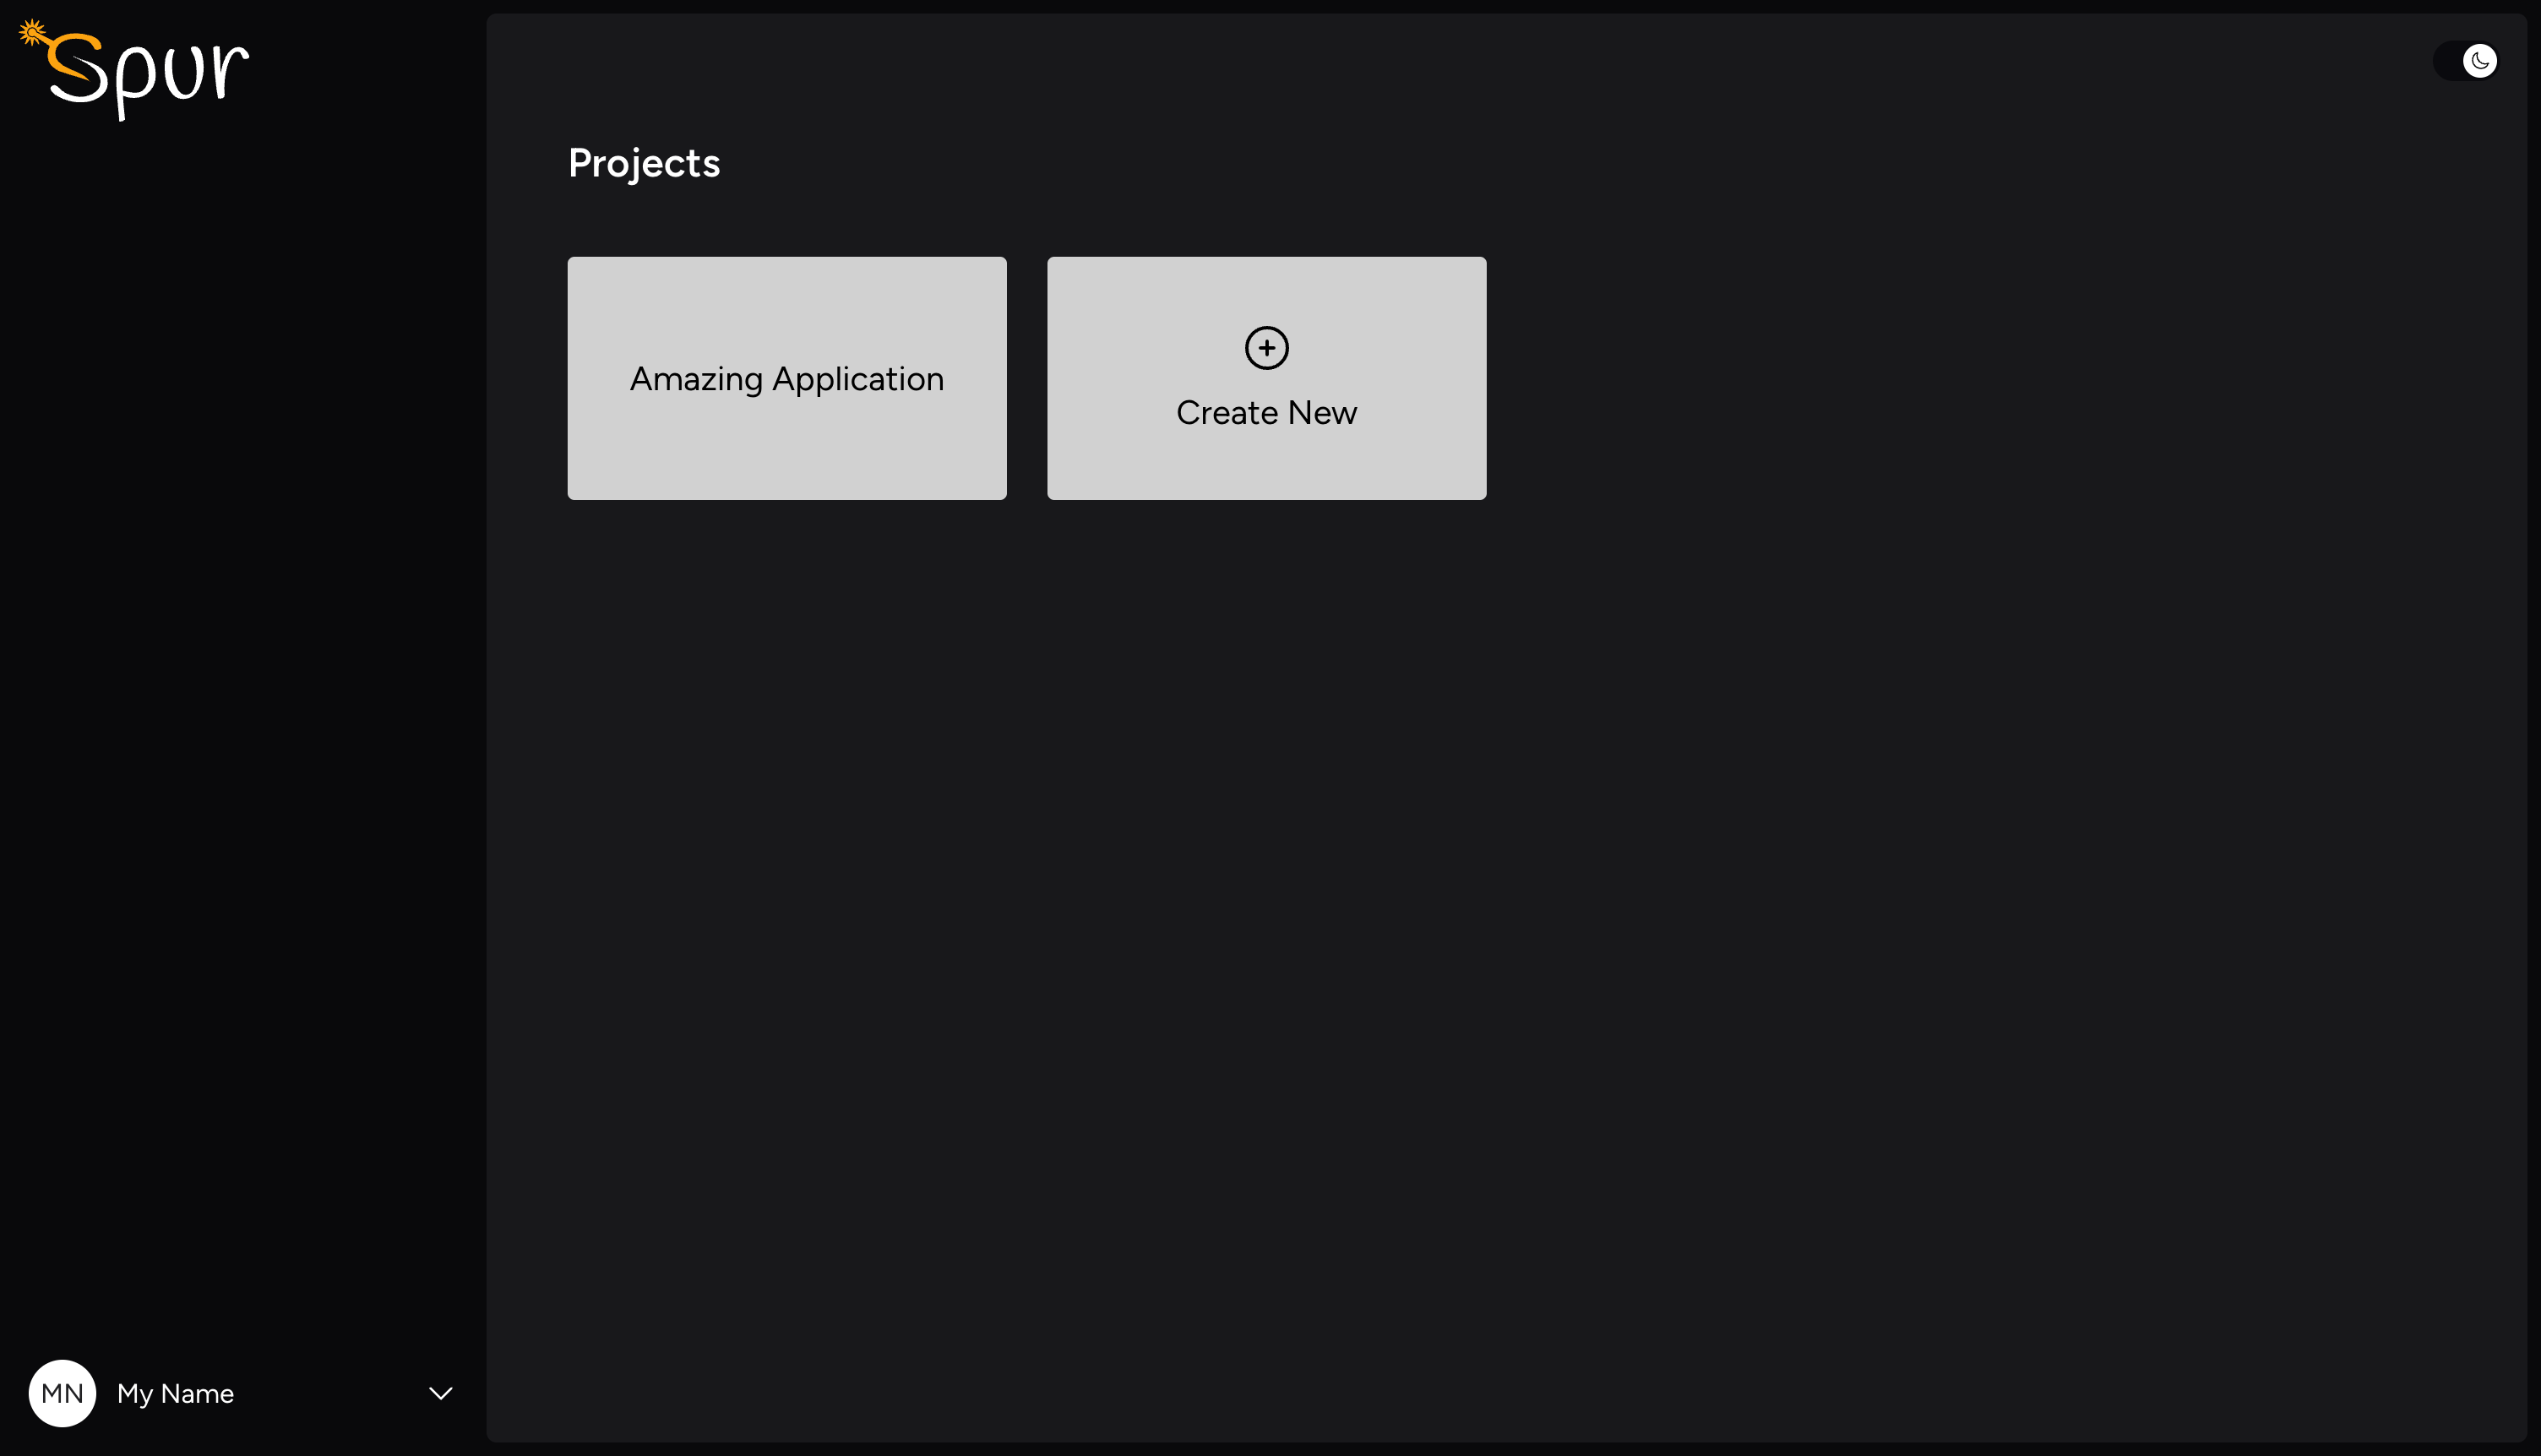
You can now click create project, and set a name for your project.
Generate Project Token
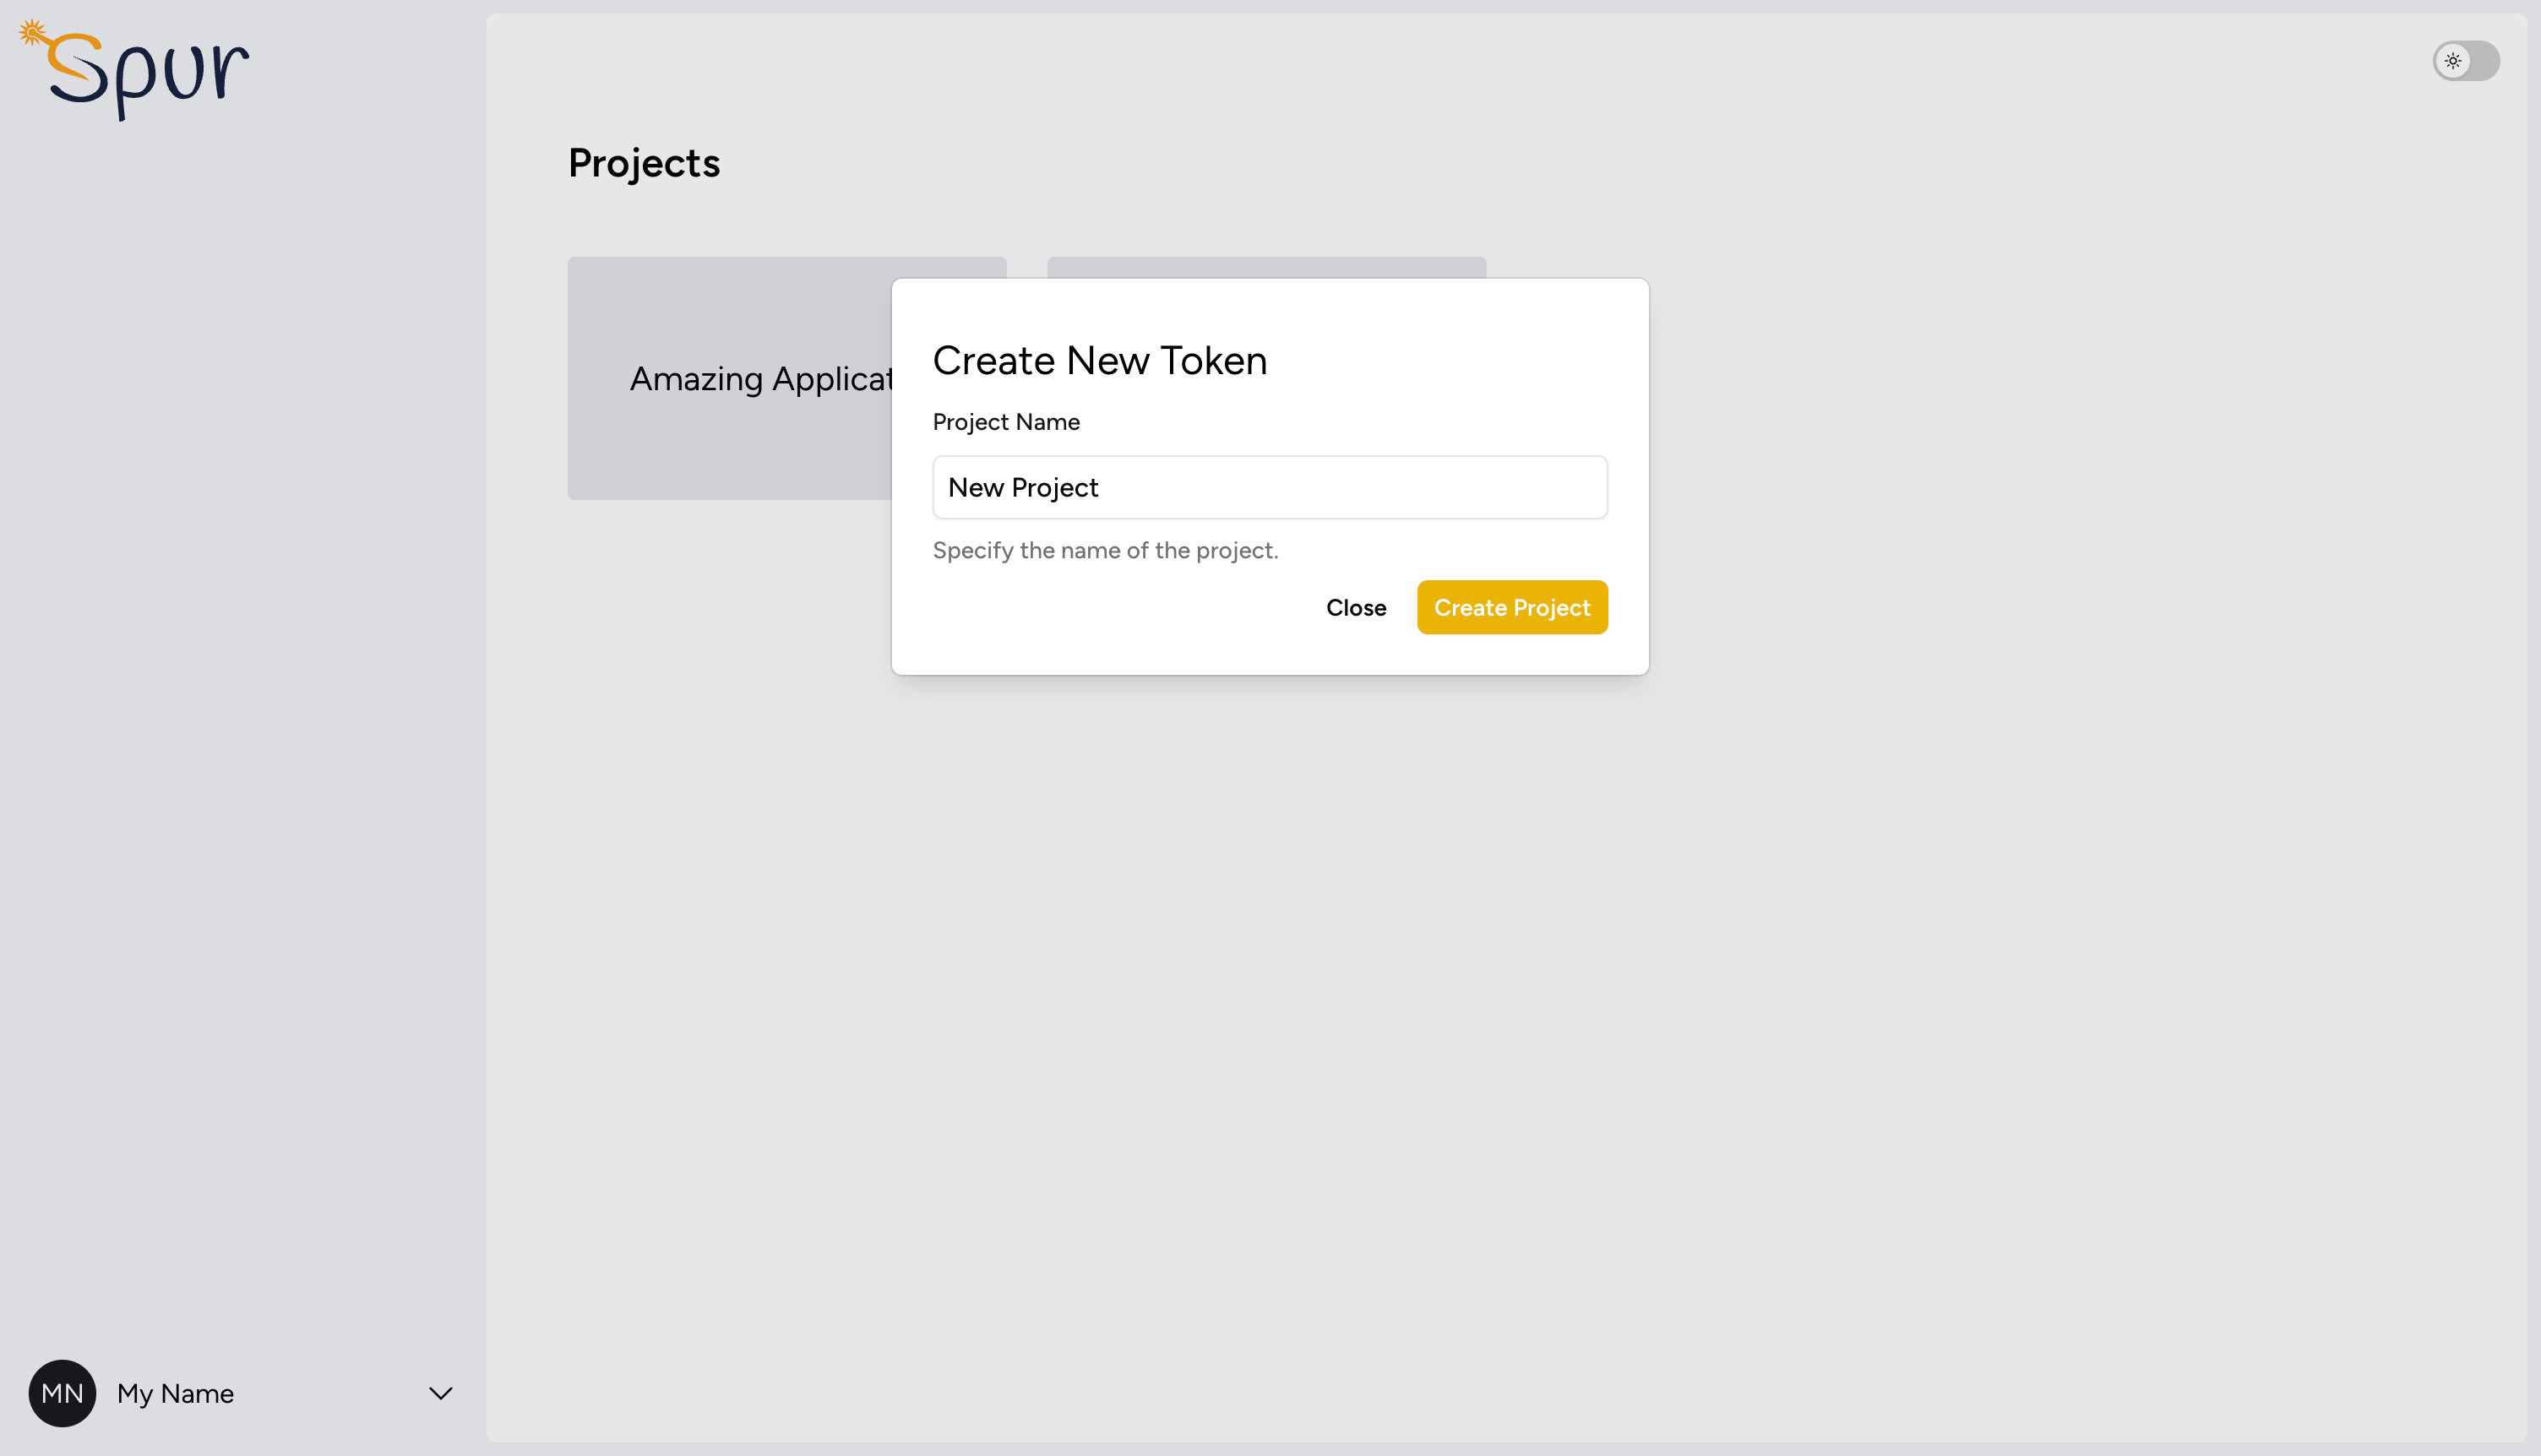
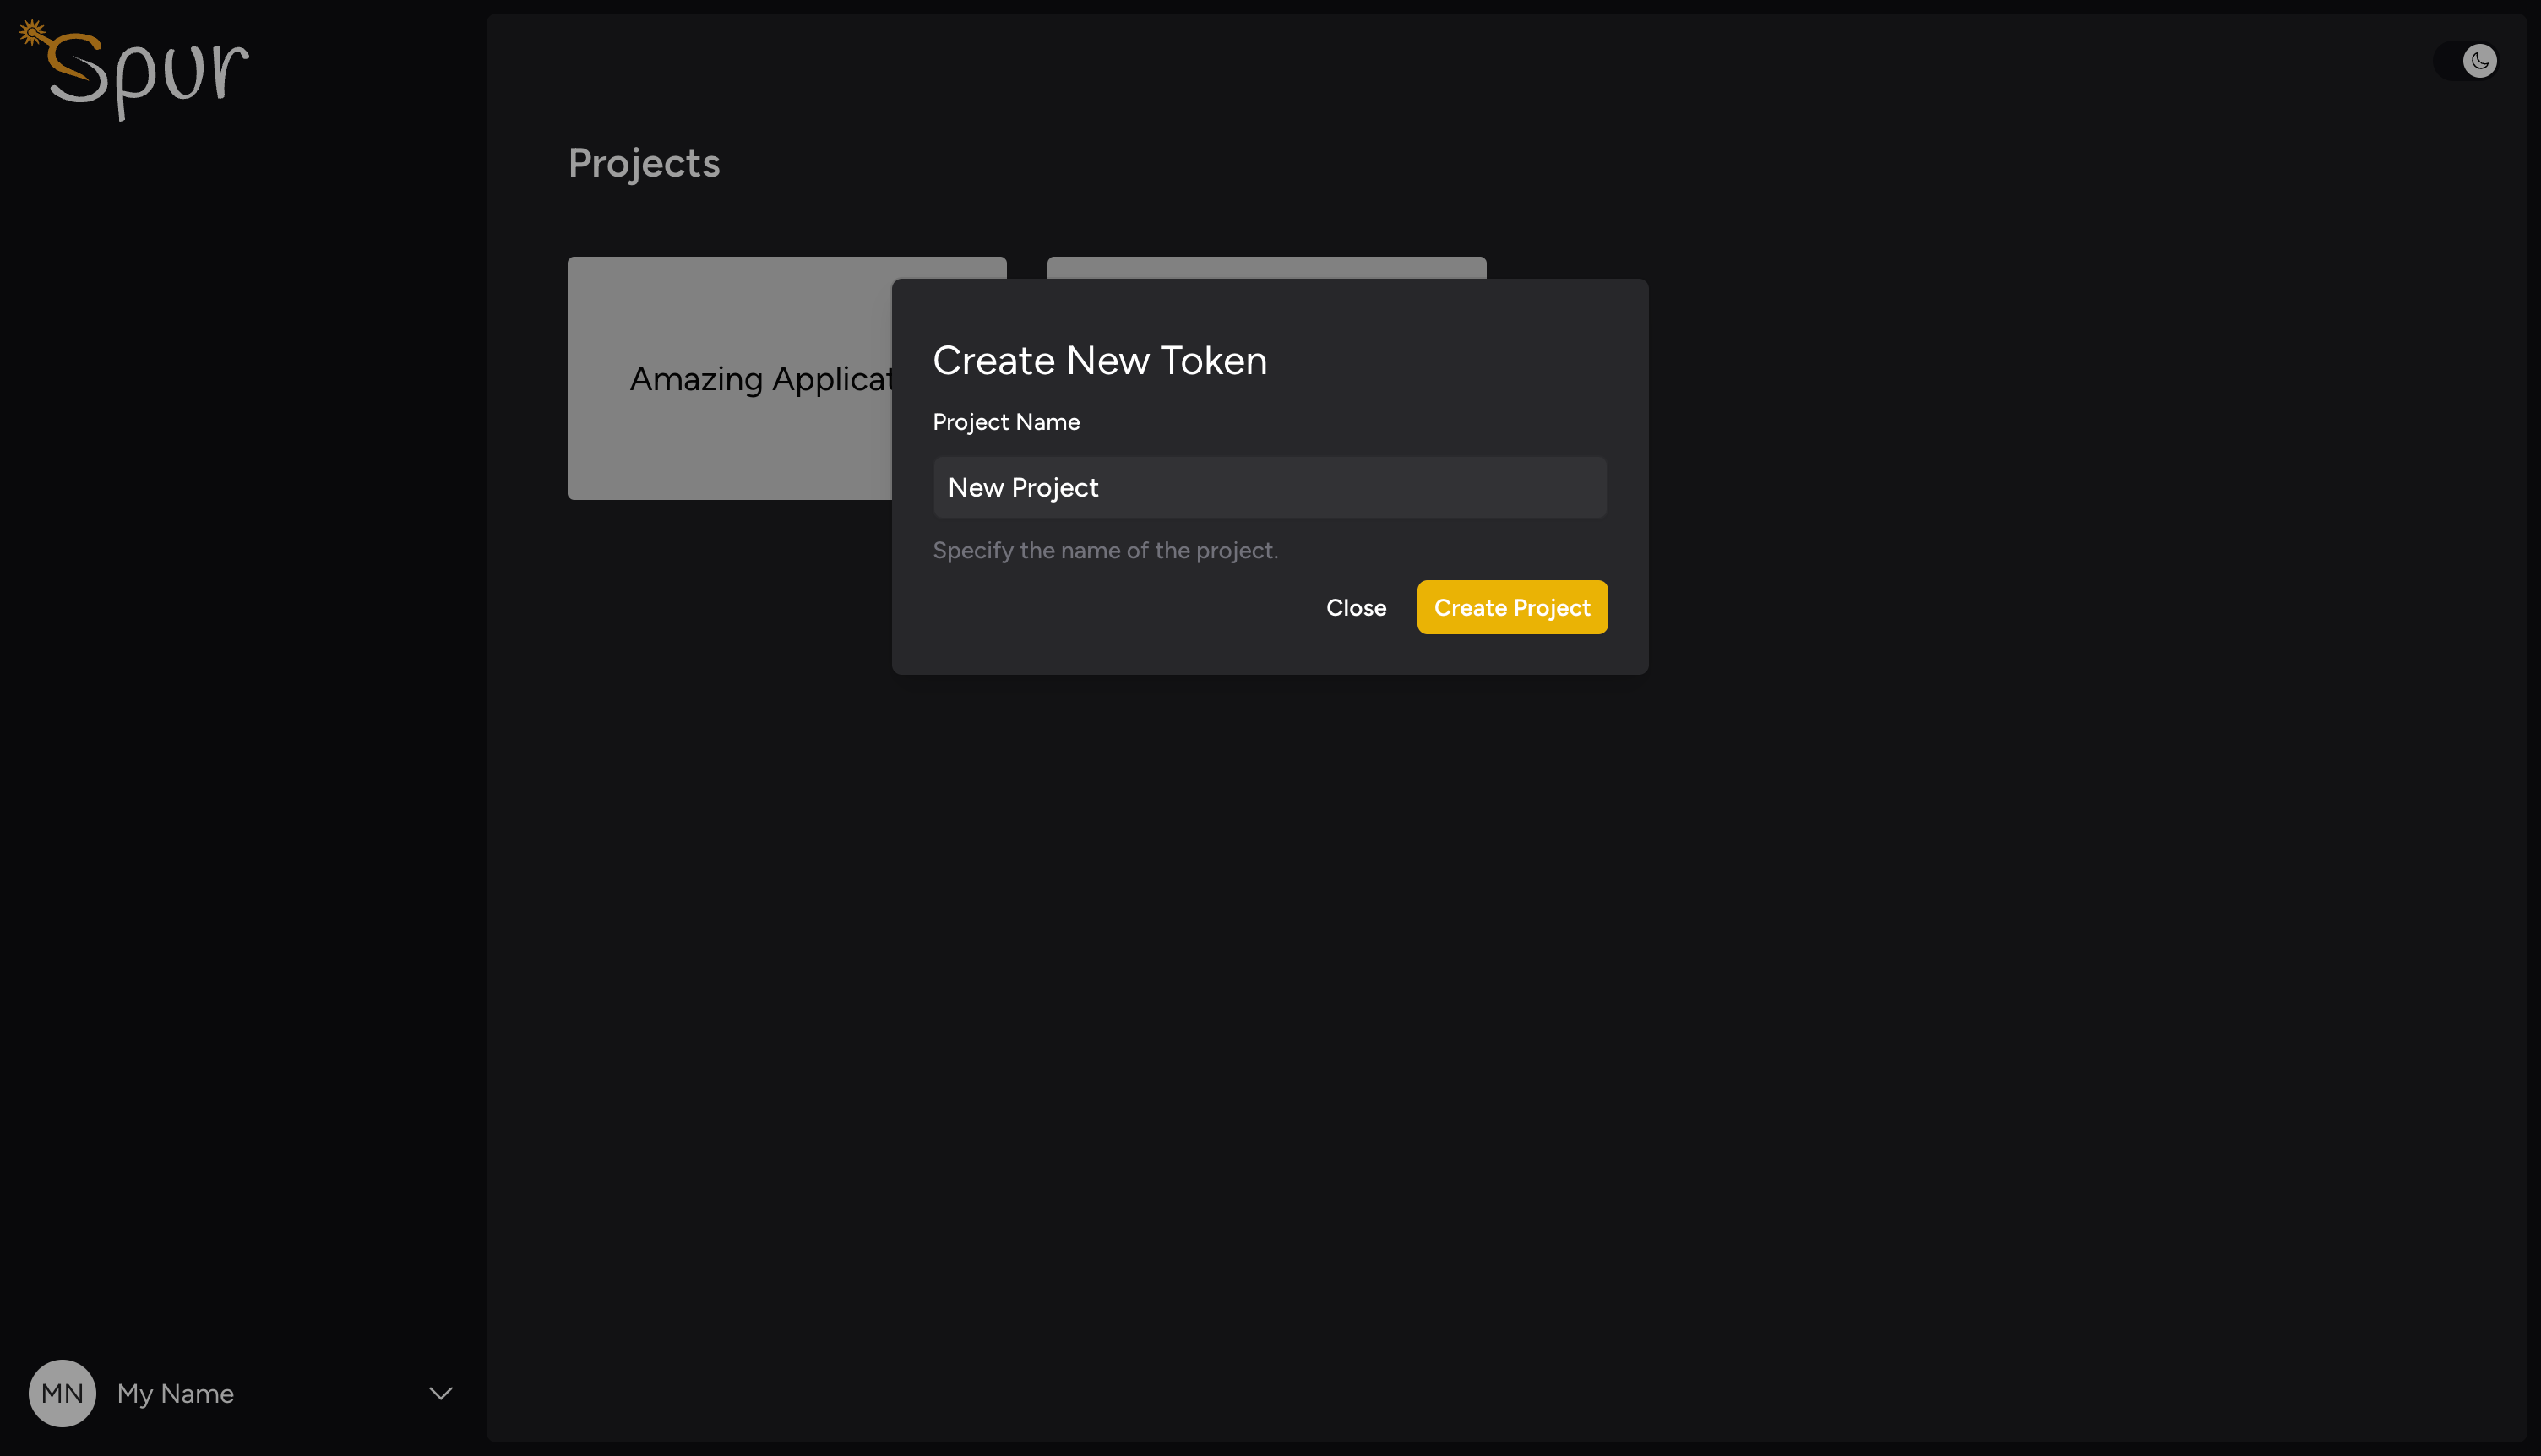
After creating a project, from the side menu navigate to the tokens page then hit the Create Token button.
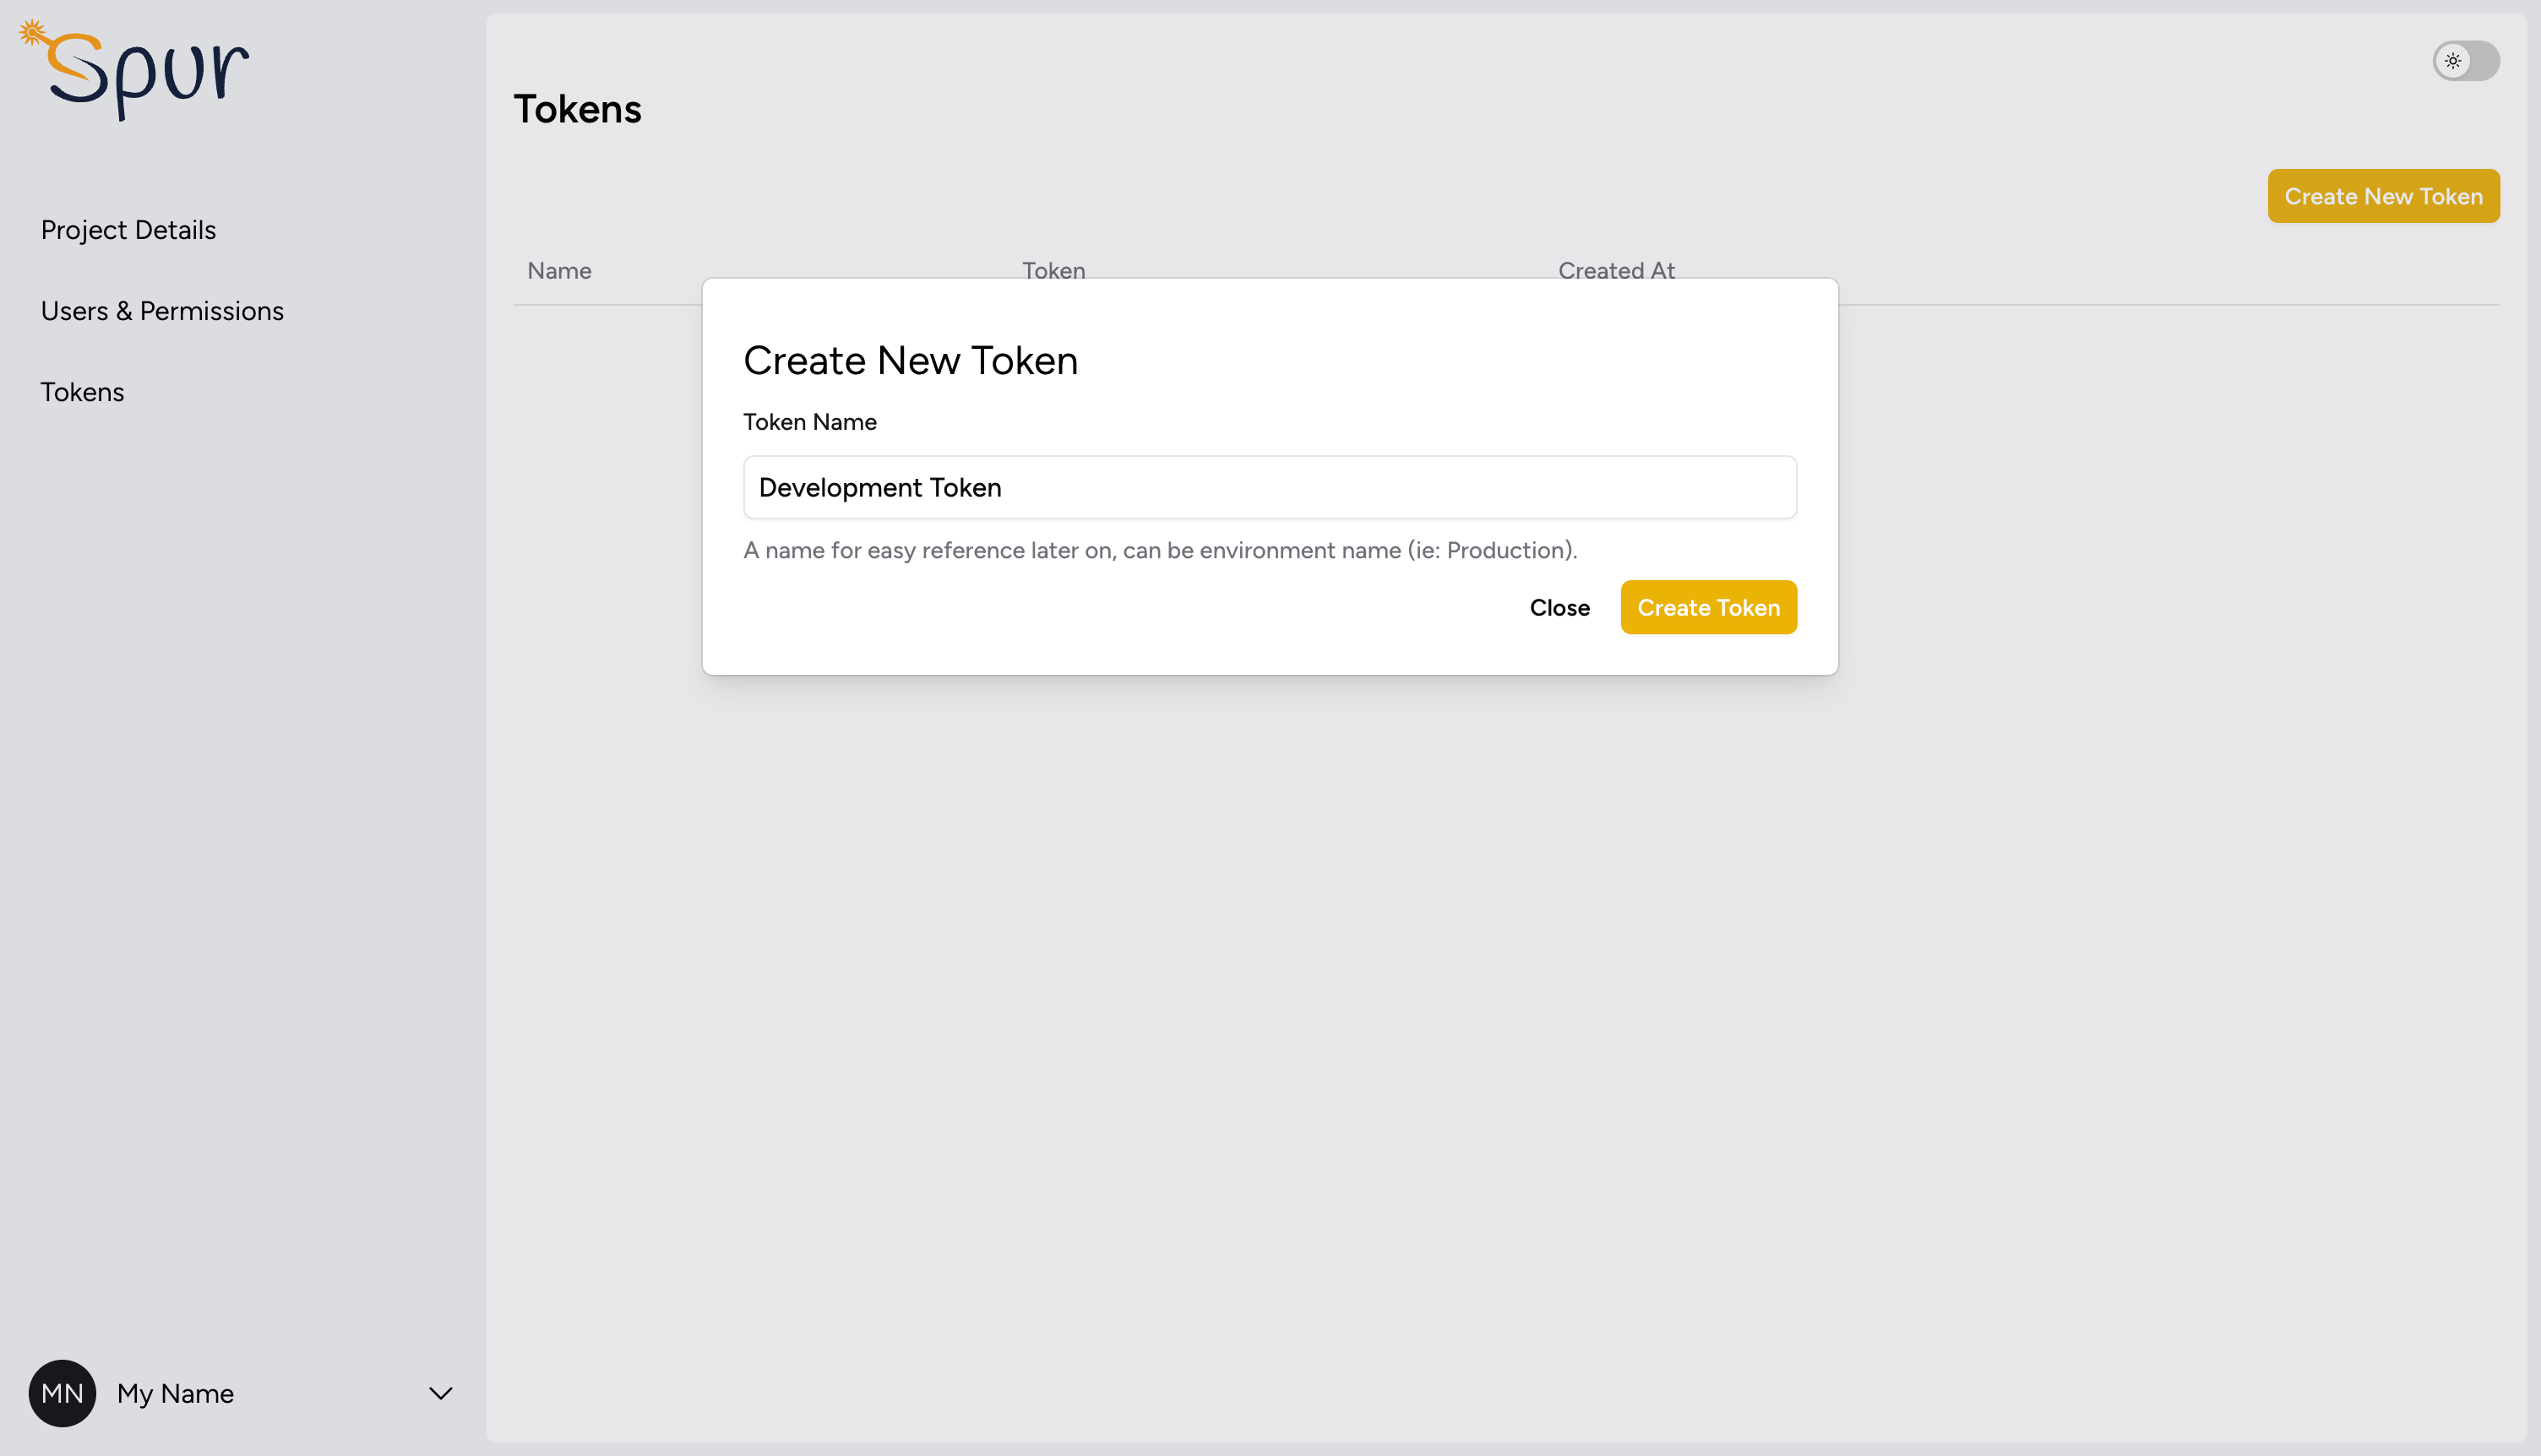
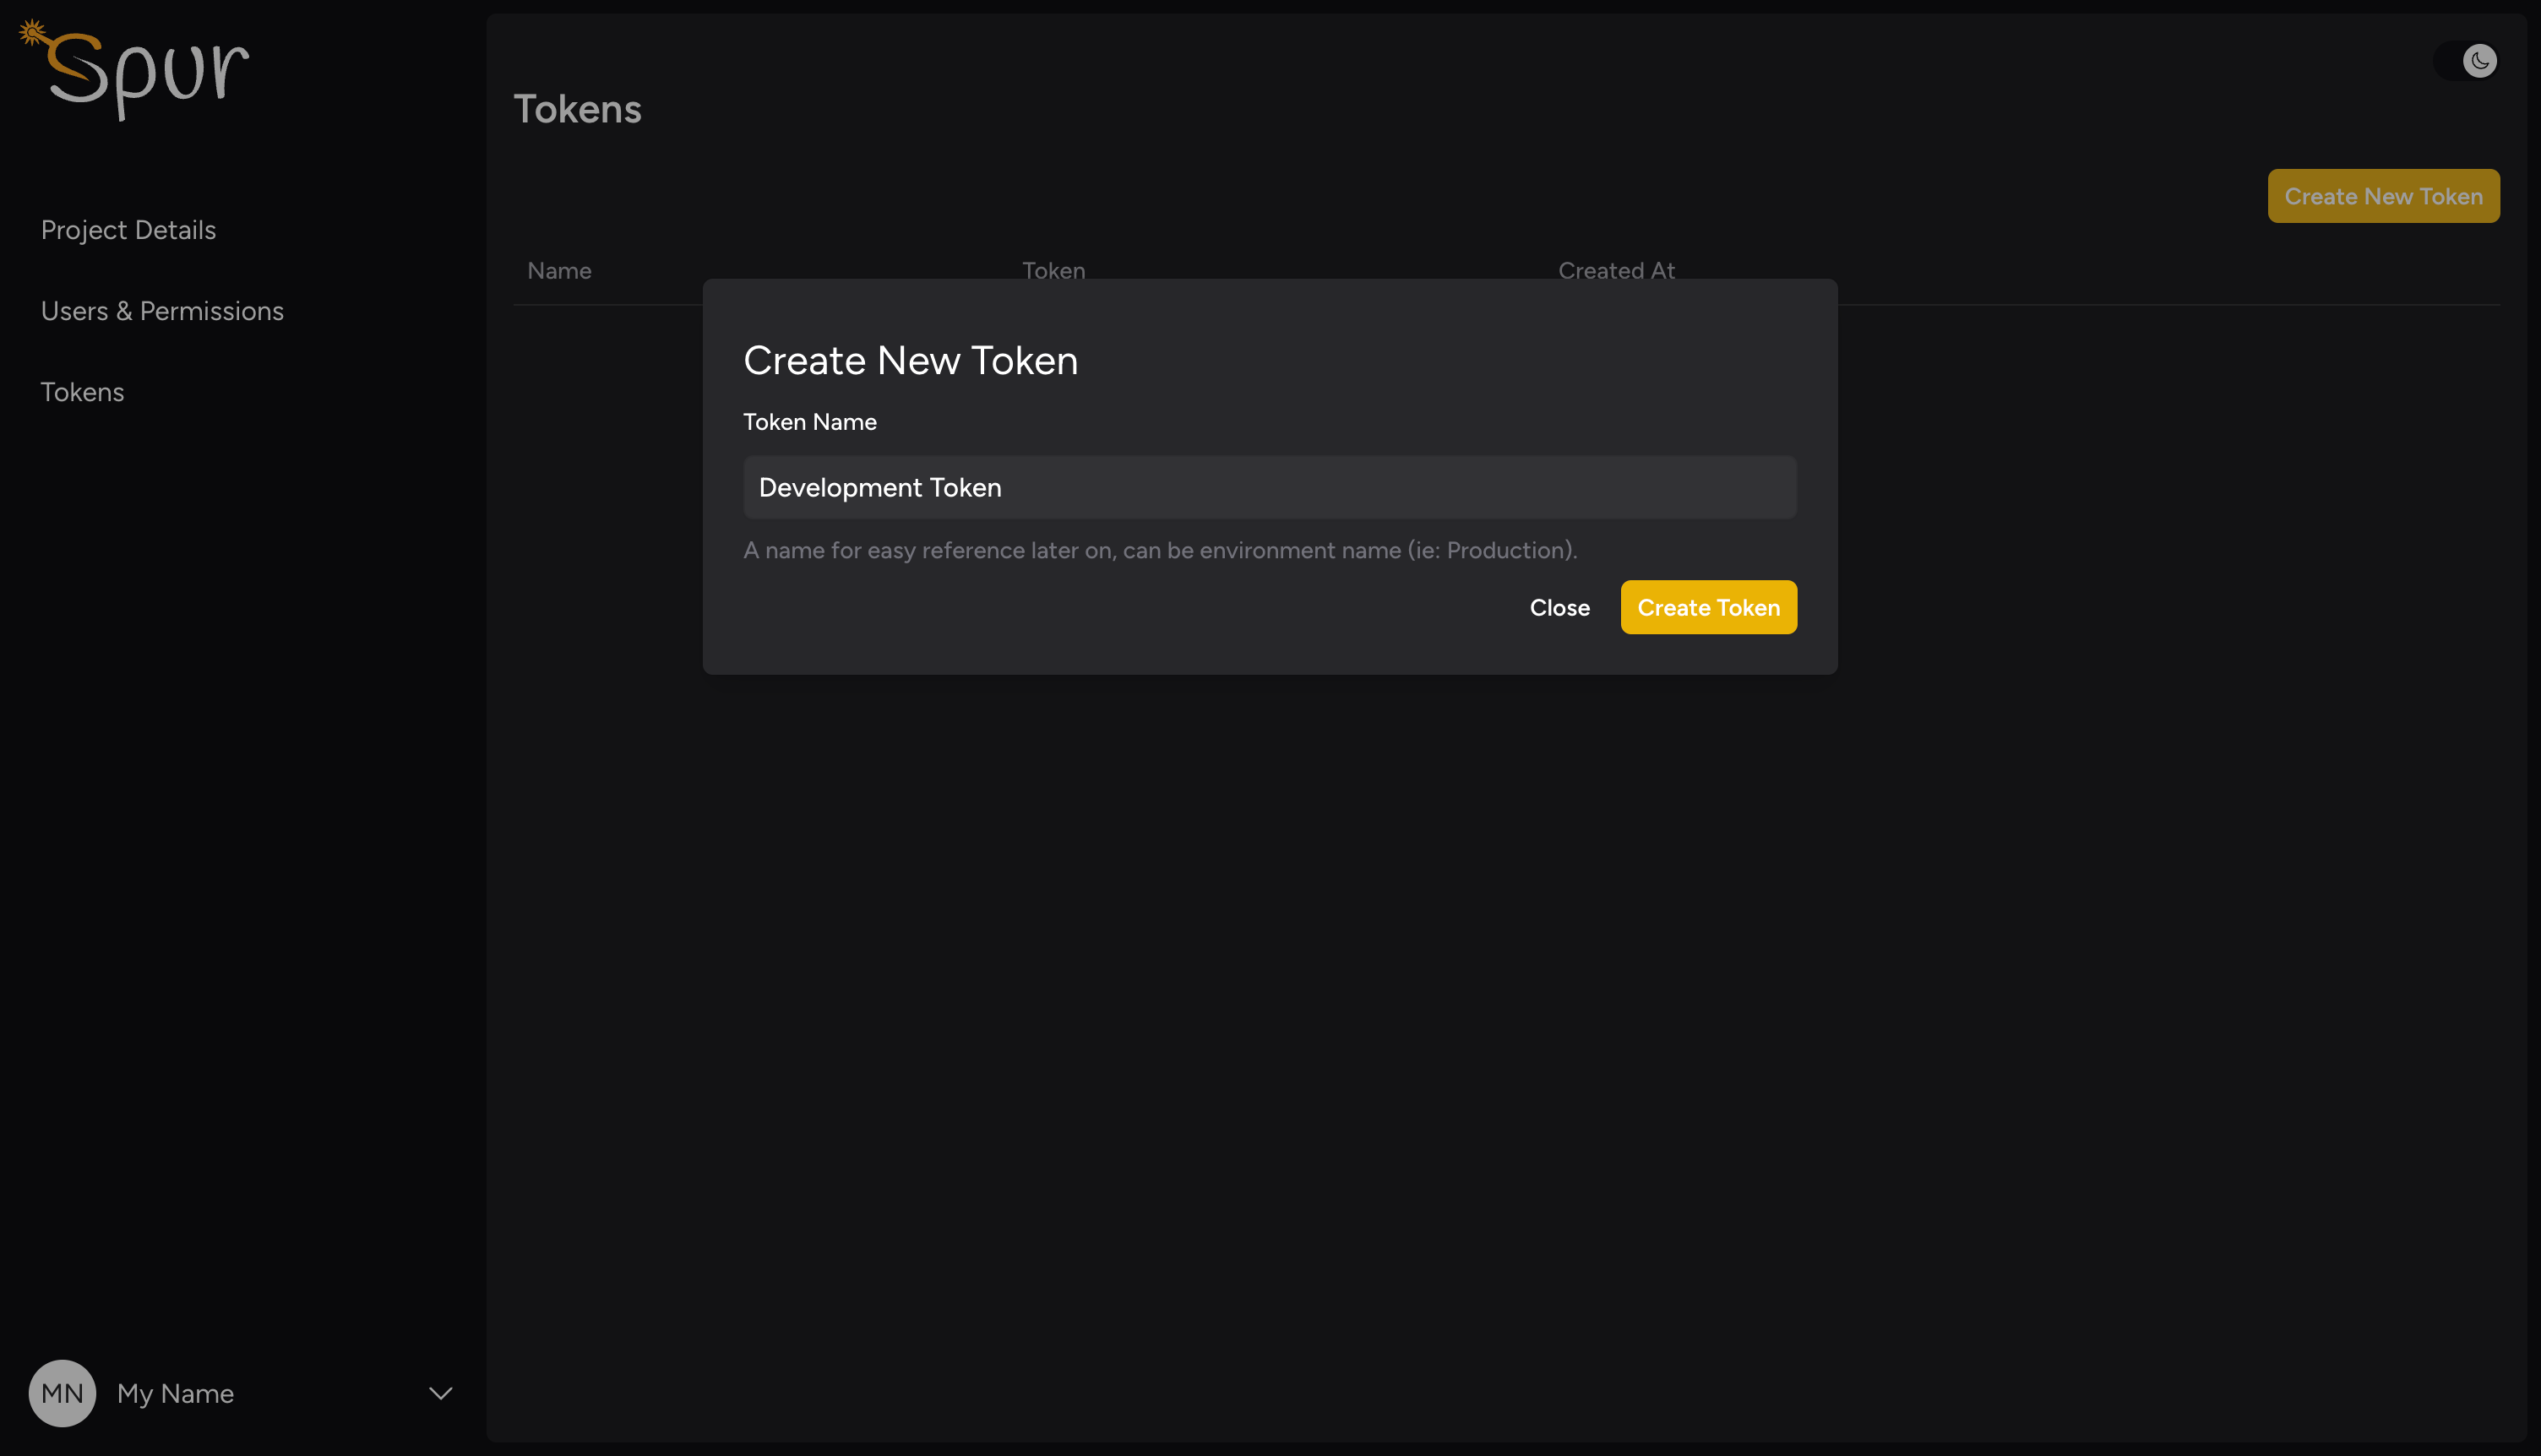
On the modal, you can name the token and hit create
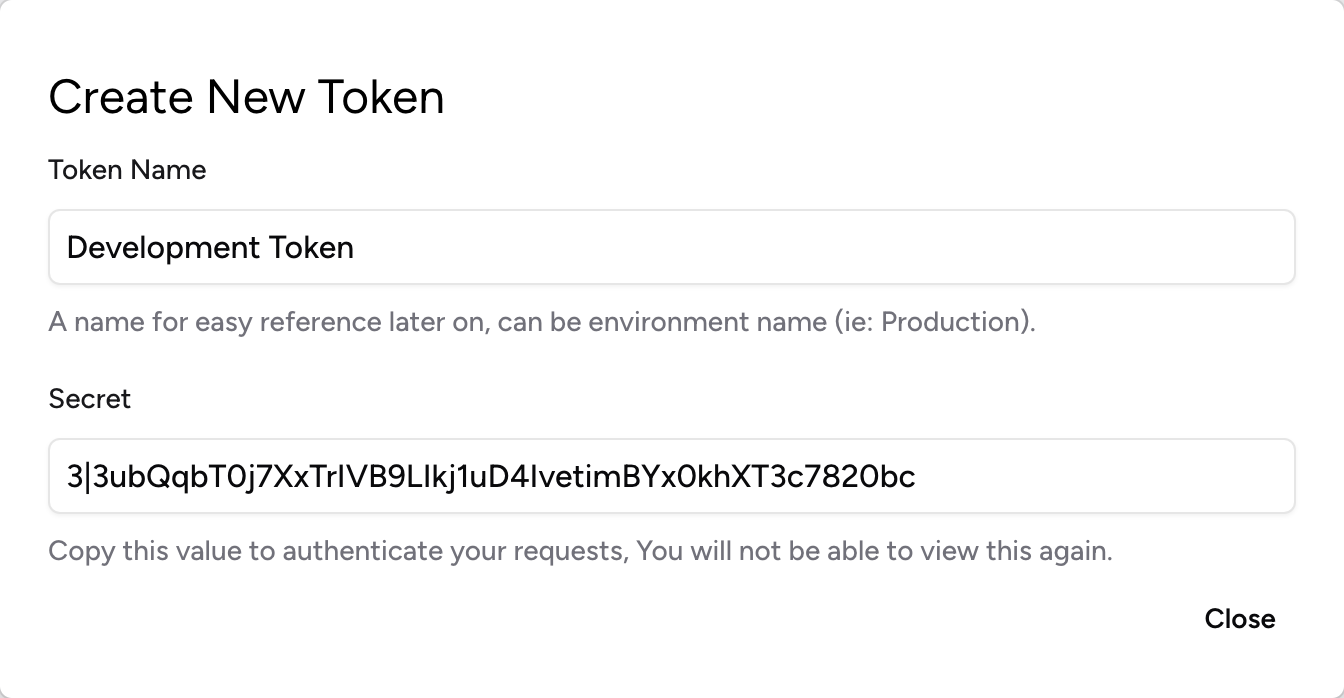
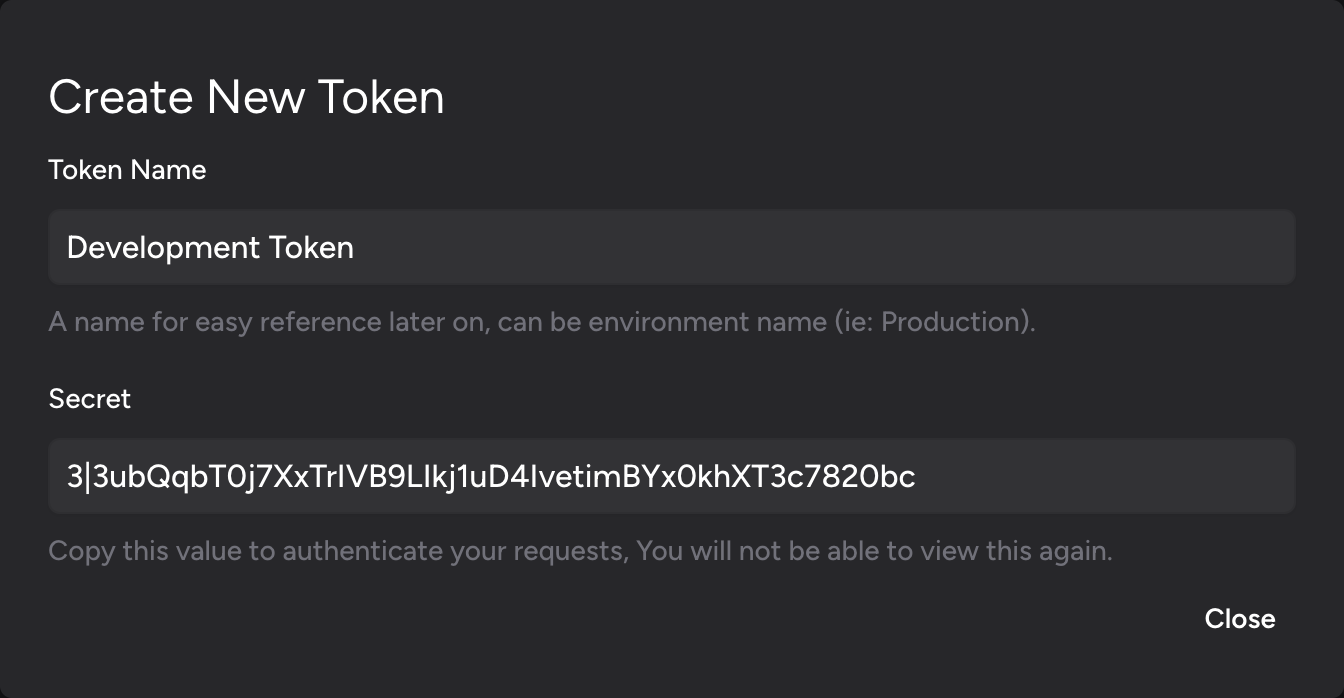
Please note, That you will be able to copy the token only while generation. So make sure to copy it before you close the modal.
Update Env File
Now with the new token that you generated it, you can put it in the .env file like below.
Make sure to use your own token.
SPUR_PROJECT_TOKEN="3|3ubQqbT0j7XxTrIVB9LIkj1uD4IvetimBYx0khXT3c7820bc"